
Hi Crafty Friends :)
Adele here from adelescricutcreations
Adele here from adelescricutcreations
This is my First Design Team Post for Pam and I am thrilled to be part of her talented Team :)
So, on to my project.....
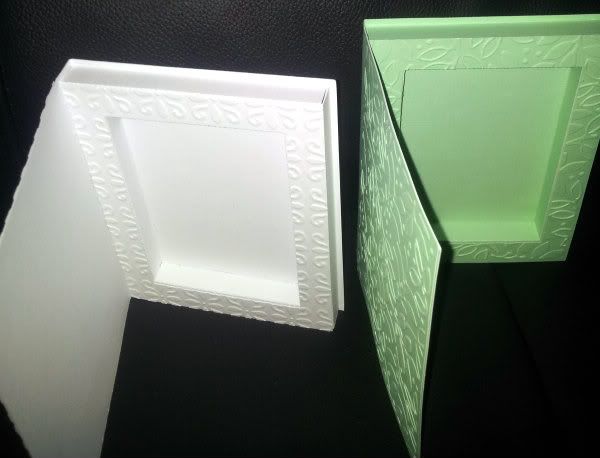
I decided to make a Book in a Box Card, this is easy to create in the Silhouette Studio, so I have created a file that I will share with you at the end of this long picture heavy post !!
This is the screen shot of the Studio File I created
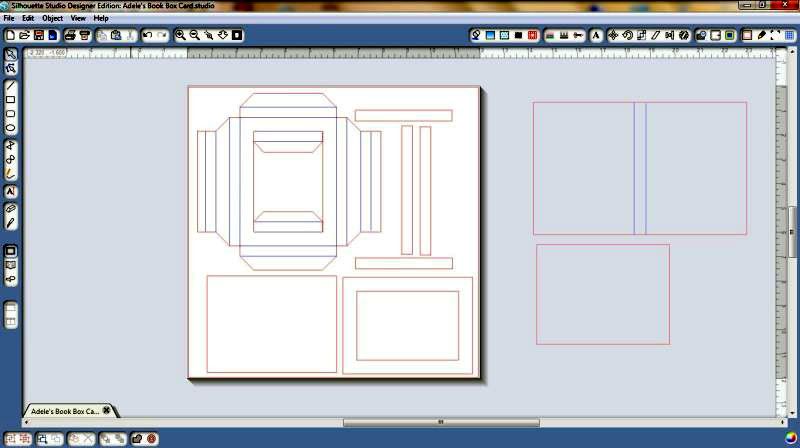
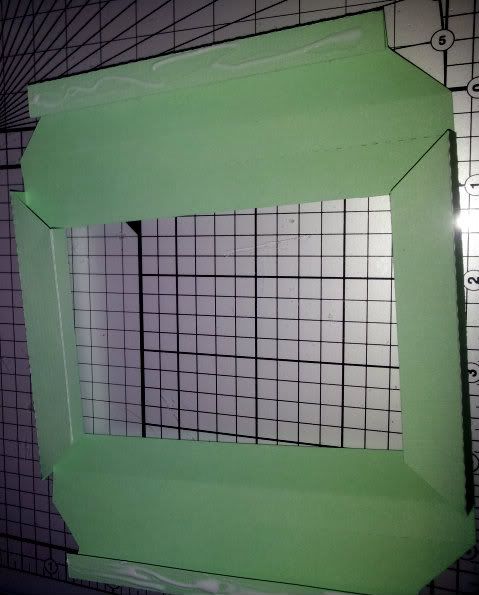
Once you have cut the pieces out of your chosen card stock you begin to assemble the box part of the book as follows:-
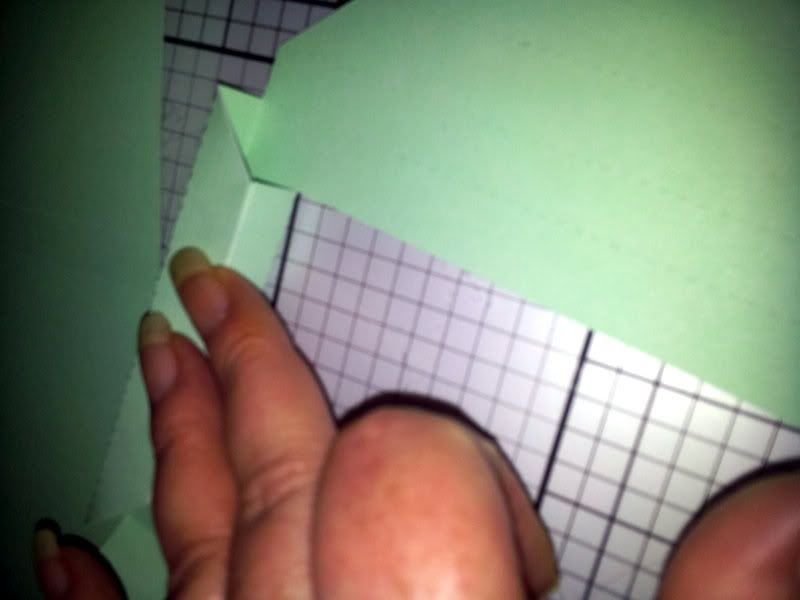
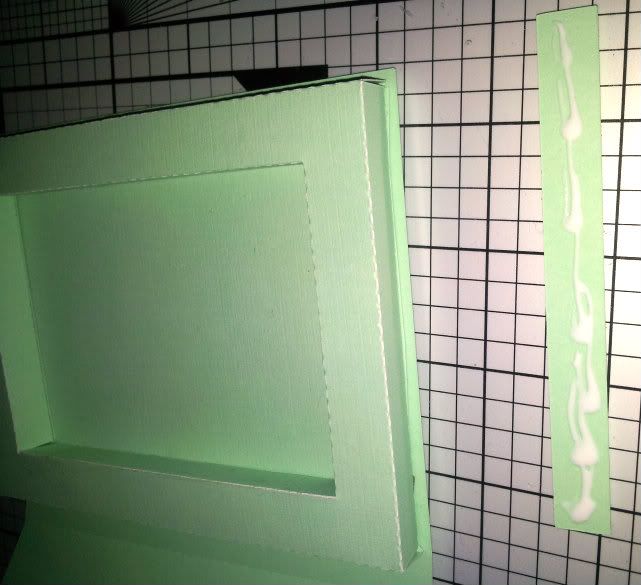
Glue the sections shown in the picture below after pre creasing all your fold lines
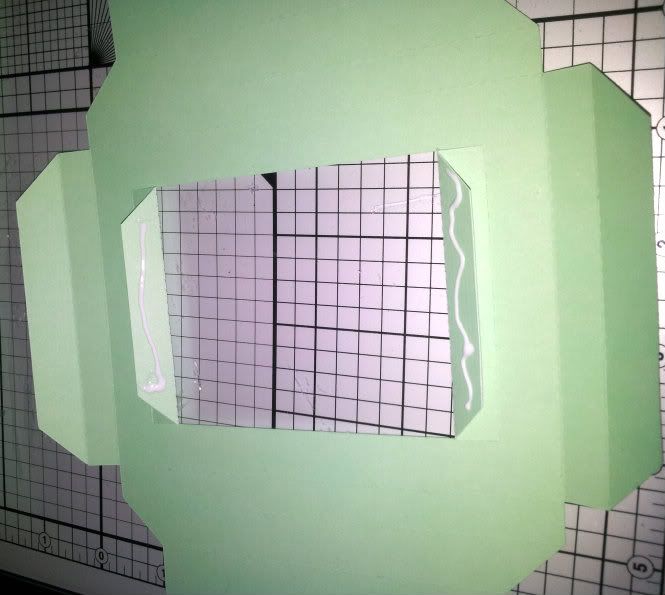
Press these pieces together to form your squared off sides like below
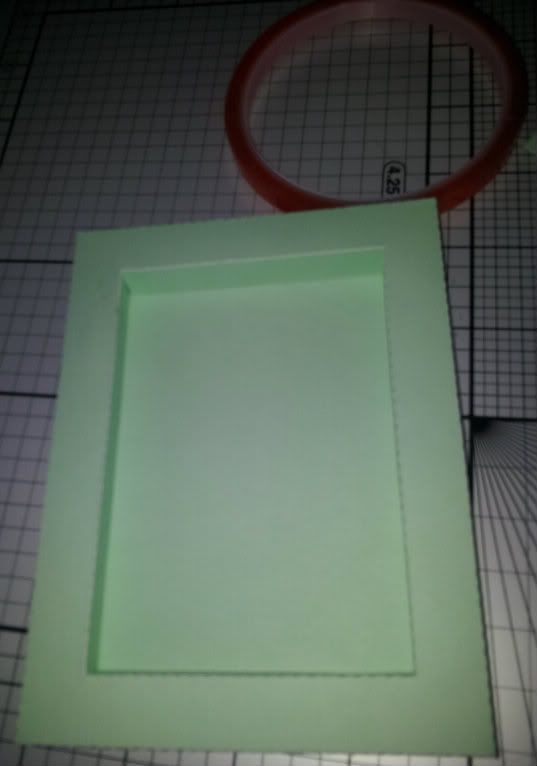
After all 4 sides are glued and shaped, you need to secure the corners with red line tape or similar
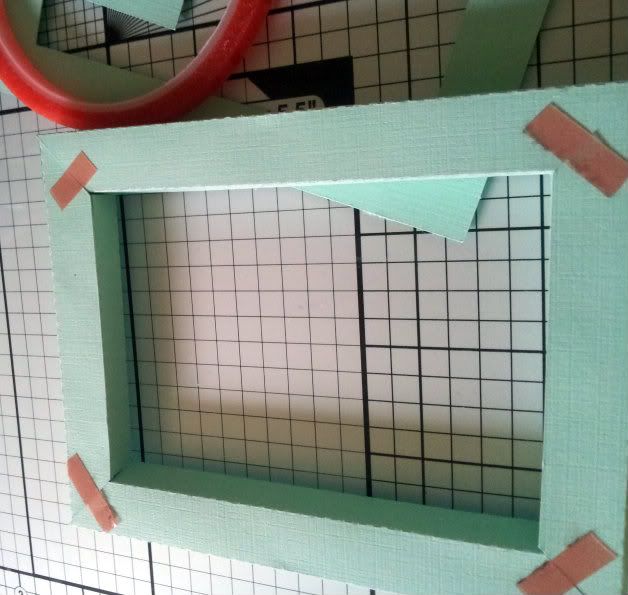
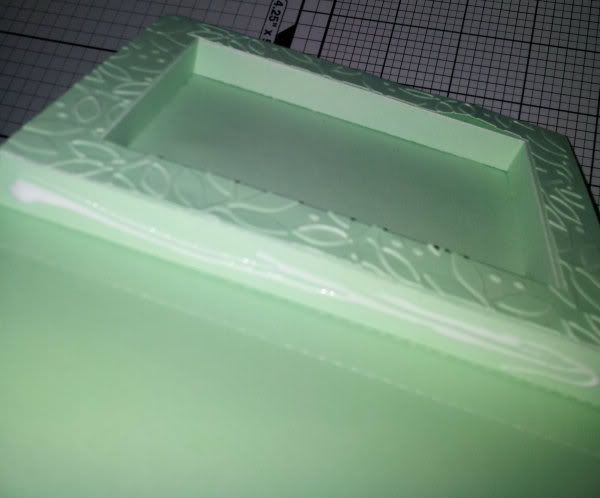
Then add liquid glue to the back of your plain 5.5" x 4.25" piece of card around the edges to adhere to the back of the made up box,
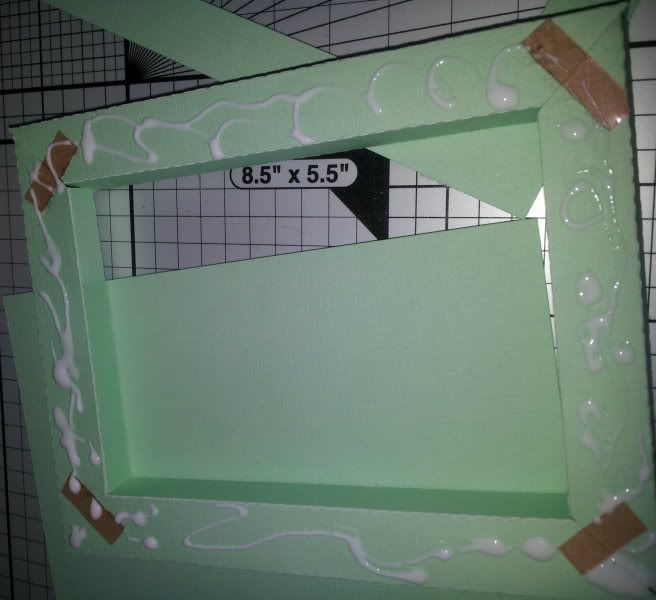
your inner box is now complete :)
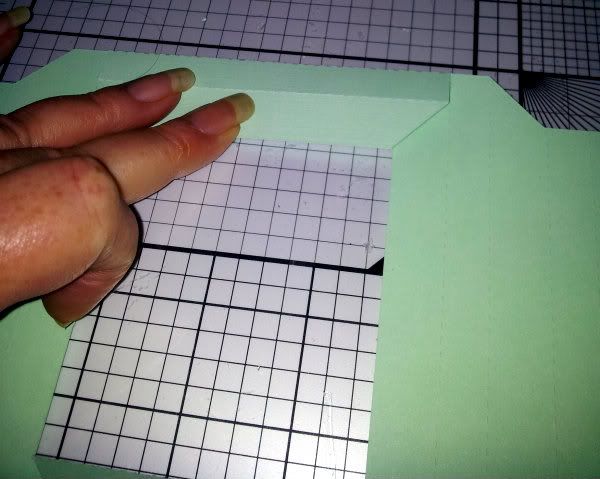
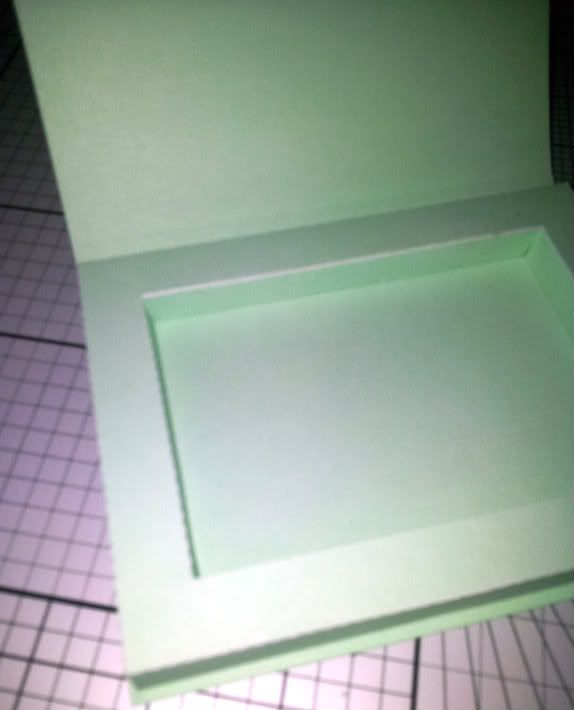
Next you need lots of glue to apply the box to your card base on the right hand side

It should now look like this
With the 4 side pieces you add these at this stage, this gives extra strength to the box
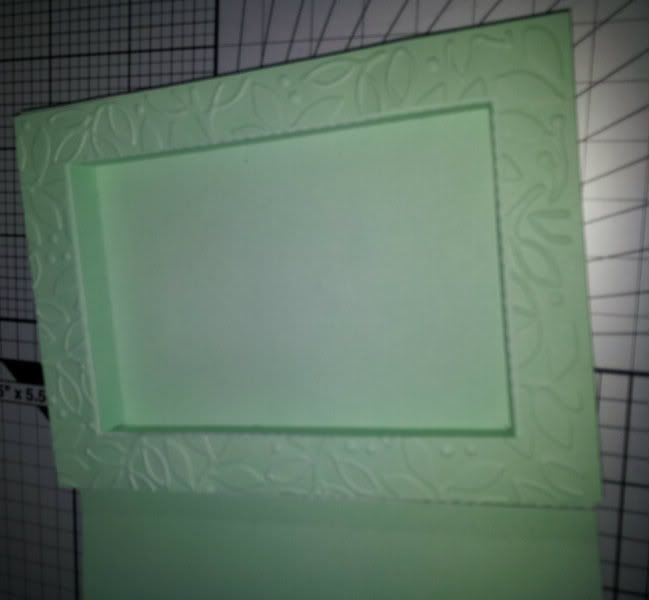
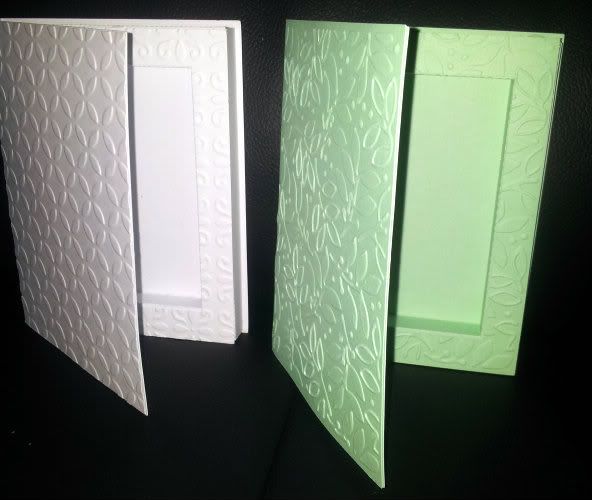
I next put the frame and the plain 5.5" x 4.25" pieces through an embossing machine, attaching the frame first
Next you need to glue the spine to the box
Finally add the embossed card to the front cover and Voila!!! you have a Book Box Card :)
I hope you give this Book Box Card a try it is very useful for special gifts etc as it measures 5.5"x4.25" so can hold little gifts or treats, or even become a shaker card if you sandwich the acetate between the frame and the box :)
If you would like the Studio file you can grab it HERE
I hope you enjoyed my first post for Pam at The Bug Bytes
Thank you for stopping by today
Thank you Pam for allowing me to share my project with your viewers :)
Happy Crafting
Hugs
Adele
Once you have cut the pieces out of your chosen card stock you begin to assemble the box part of the book as follows:-
Glue the sections shown in the picture below after pre creasing all your fold lines
Press these pieces together to form your squared off sides like below
After all 4 sides are glued and shaped, you need to secure the corners with red line tape or similar
Then add liquid glue to the back of your plain 5.5" x 4.25" piece of card around the edges to adhere to the back of the made up box,
your inner box is now complete :)
Next you need lots of glue to apply the box to your card base on the right hand side
It should now look like this
With the 4 side pieces you add these at this stage, this gives extra strength to the box
I next put the frame and the plain 5.5" x 4.25" pieces through an embossing machine, attaching the frame first
Next you need to glue the spine to the box
Finally add the embossed card to the front cover and Voila!!! you have a Book Box Card :)
I hope you give this Book Box Card a try it is very useful for special gifts etc as it measures 5.5"x4.25" so can hold little gifts or treats, or even become a shaker card if you sandwich the acetate between the frame and the box :)
If you would like the Studio file you can grab it HERE
I hope you enjoyed my first post for Pam at The Bug Bytes
Thank you for stopping by today
Thank you Pam for allowing me to share my project with your viewers :)
Happy Crafting
Hugs
Adele
Adele this box is awesome! Love the detail and the embossing on front of the box and on the card. Love it!
ReplyDeleteThank you Sheila :)
DeleteYou sweet words are really appreciated
Hugs
Adele
That is too cute! Thanks for the file and detailed instructions. I like the idea of a shaker card since I've never done one before ;). Congrats on becoming a Bugbytes DT!
ReplyDeleteThank you Melody :)
DeleteI hope you give the shaker version a try
Hugs
Adele
Wow Adele this box card is so cool!!! Love the tutorial ~ you make it look so easy!!!
ReplyDeleteWelcome to thebugbytes!!
Thank you Lori :)
ReplyDeleteIt really is easy, once you have made one you'll find it's a breeze next time :) the hardest part was writing the tutorial LOL !!
Hugs
Adele
Adele these turned out fabulous - great tutorial. Welcome to The Bugbytes.
ReplyDeleteThank you Michelle :)
ReplyDeleteI appreciate your kind words
Hugs
Adele
Welcome Adele and this is such an awesome debut project. I love it and great instructions. TFS
ReplyDeleteThank you Pam :)
ReplyDeleteI am so glad you liked my first DT project for you
Hugs
Adele
Have tried to download but unable to, windows does not recognise the file type, any help?
ReplyDeleteI really like your ideas Adele, you're very talented. Thank you for the files :)
ReplyDeletevery nice wish you had a svg for his box :(
ReplyDeleteblessings, Chris