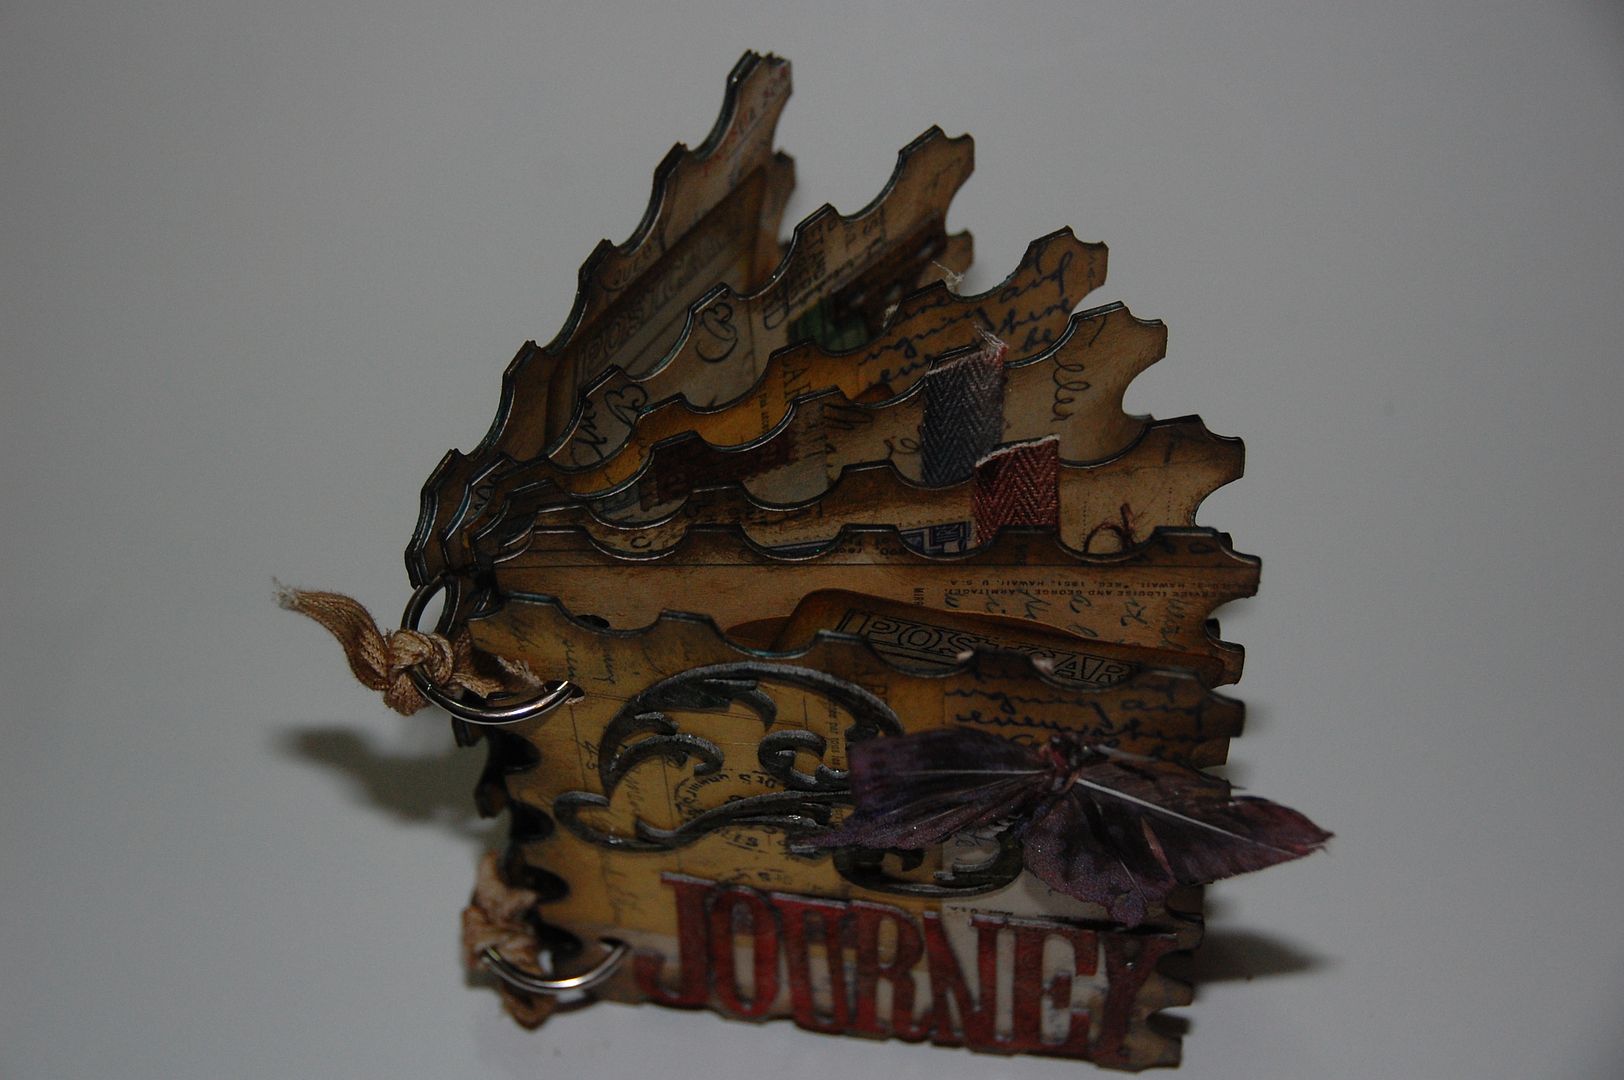
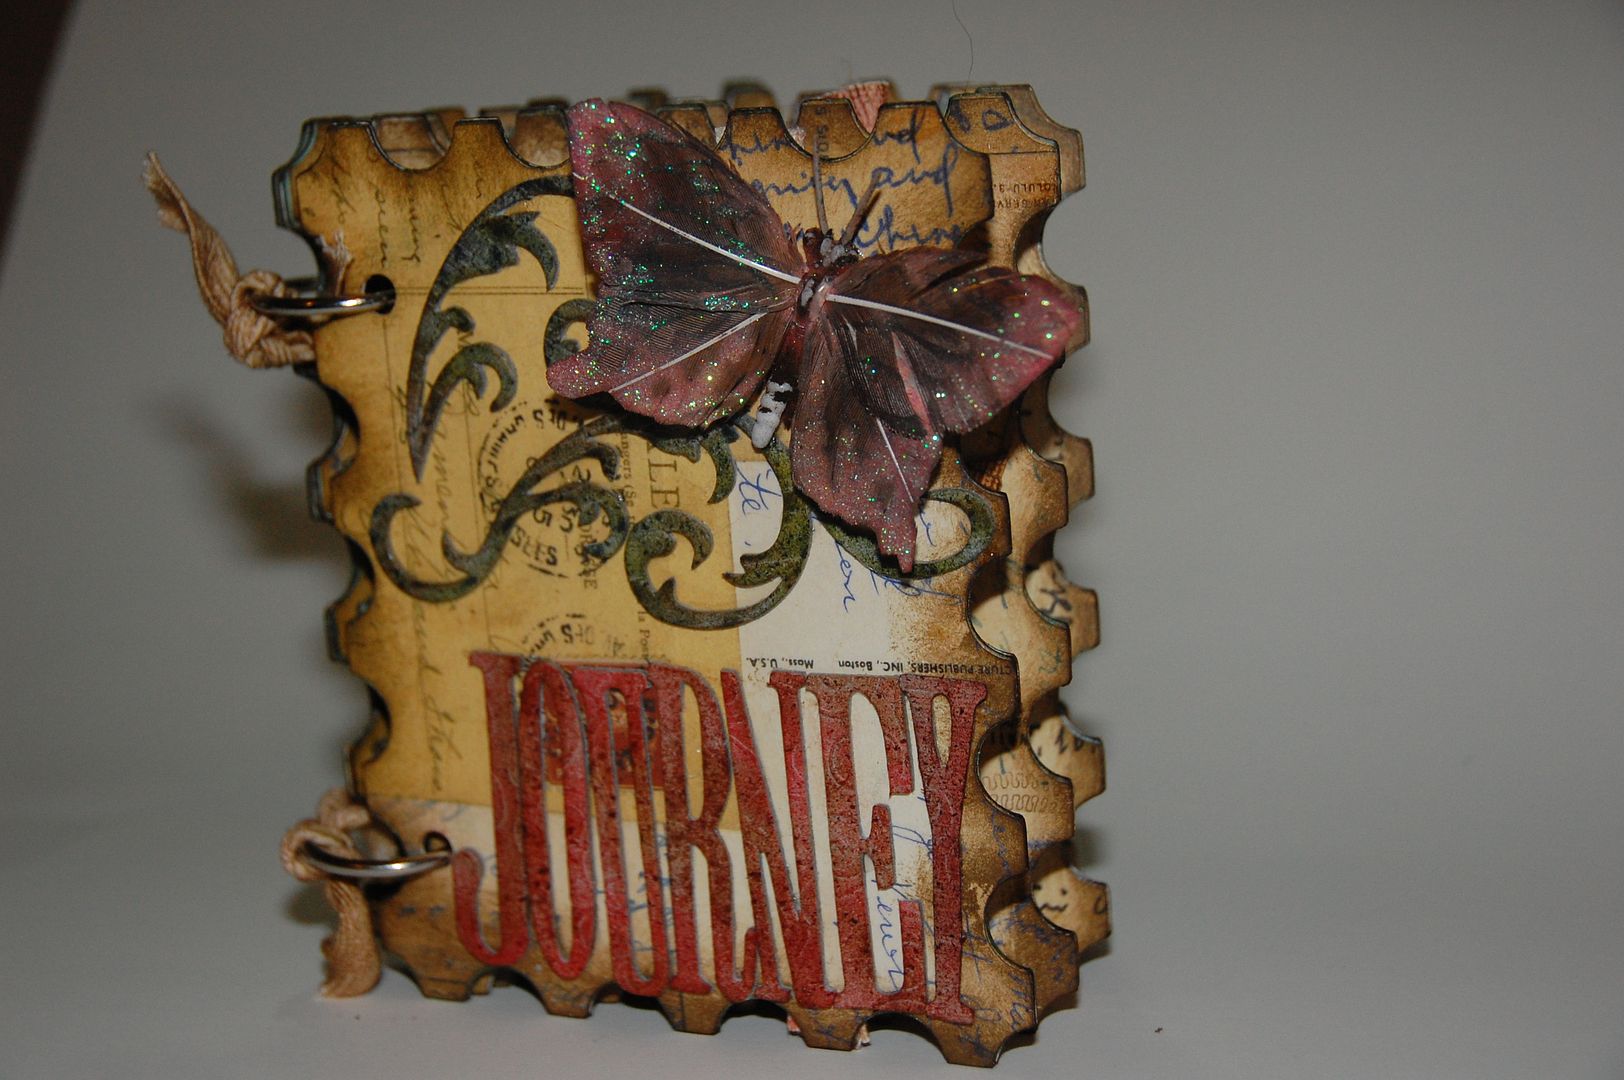
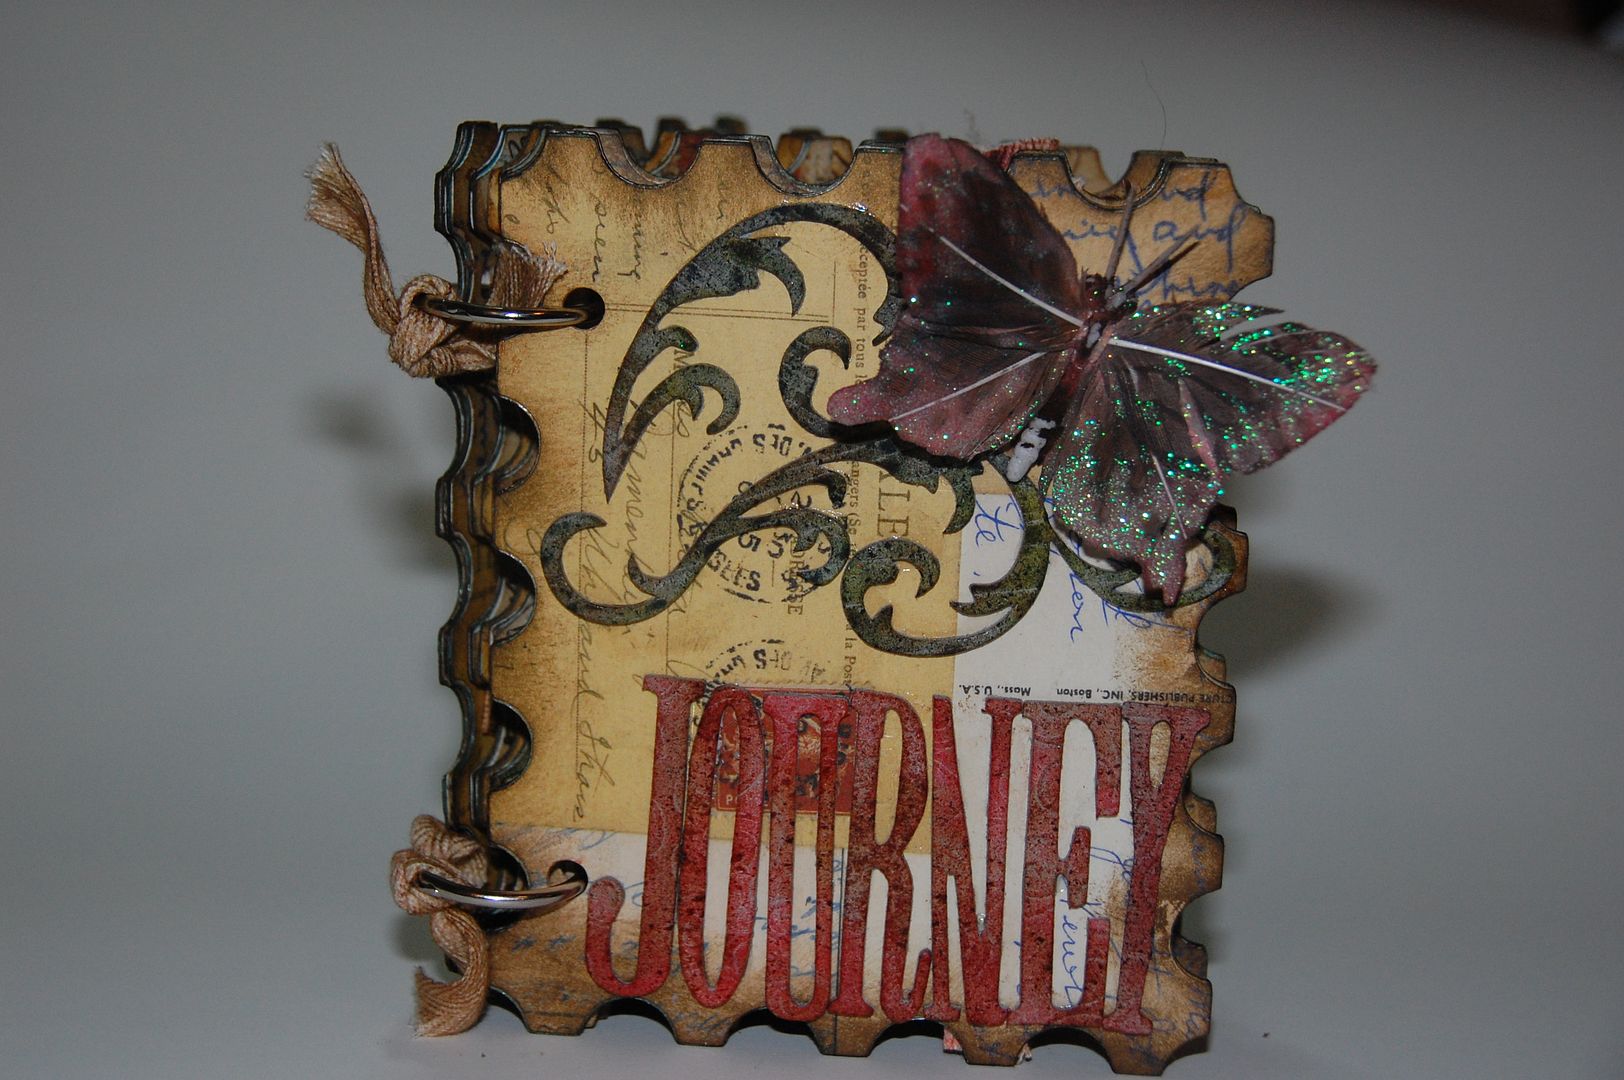
Hi everyone! This Elizabeth from 217 Creations. My hands are messy! To me, that is always a sign of a good project. I have a deep love affair with ink and my newest mini album is no stranger to ink. It is made entirely from the Cricut Cartridge Sentimentals. I just love how this turned out! After the video and tutorial, please take a moment to leave a comment.
SPENDING ALERT!
Hide your wallets. Forget your Paypal password.
I have used a ton of Tim Holtz Distress Ink and you will want every color!
SPENDING ALERT!
Hide your wallets. Forget your Paypal password.
I have used a ton of Tim Holtz Distress Ink and you will want every color!
Gypsy and Design Studio are not required to make this album, but it makes sizing tons easier. Of course, the file is at the end of the blog post and is a free download.
I have to admit this is not what I intended to make, so I have no assembly pictures. But I have listed the sizes for those readers who do not own Design Studio or Gypsy. I have rounded up or down to the nearest .25 inch to make it easier.
The pages are cut at approx 5.50 inches from white chipboard. I then cut the front pages from my paper. This image (stamp shape) is not symmetrical. So you will need to flip the image to cut the paper for the backside of each page. If you are unable to flip because of the Baby Bug, turn your paper front side down on the mat.
I inked first with Broken China all through the white chipboard edges. Then I took Weathered Wood and deepened some areas. Finally I Brushed Vintage Photo on the sides to add some funky worn look the the paper.
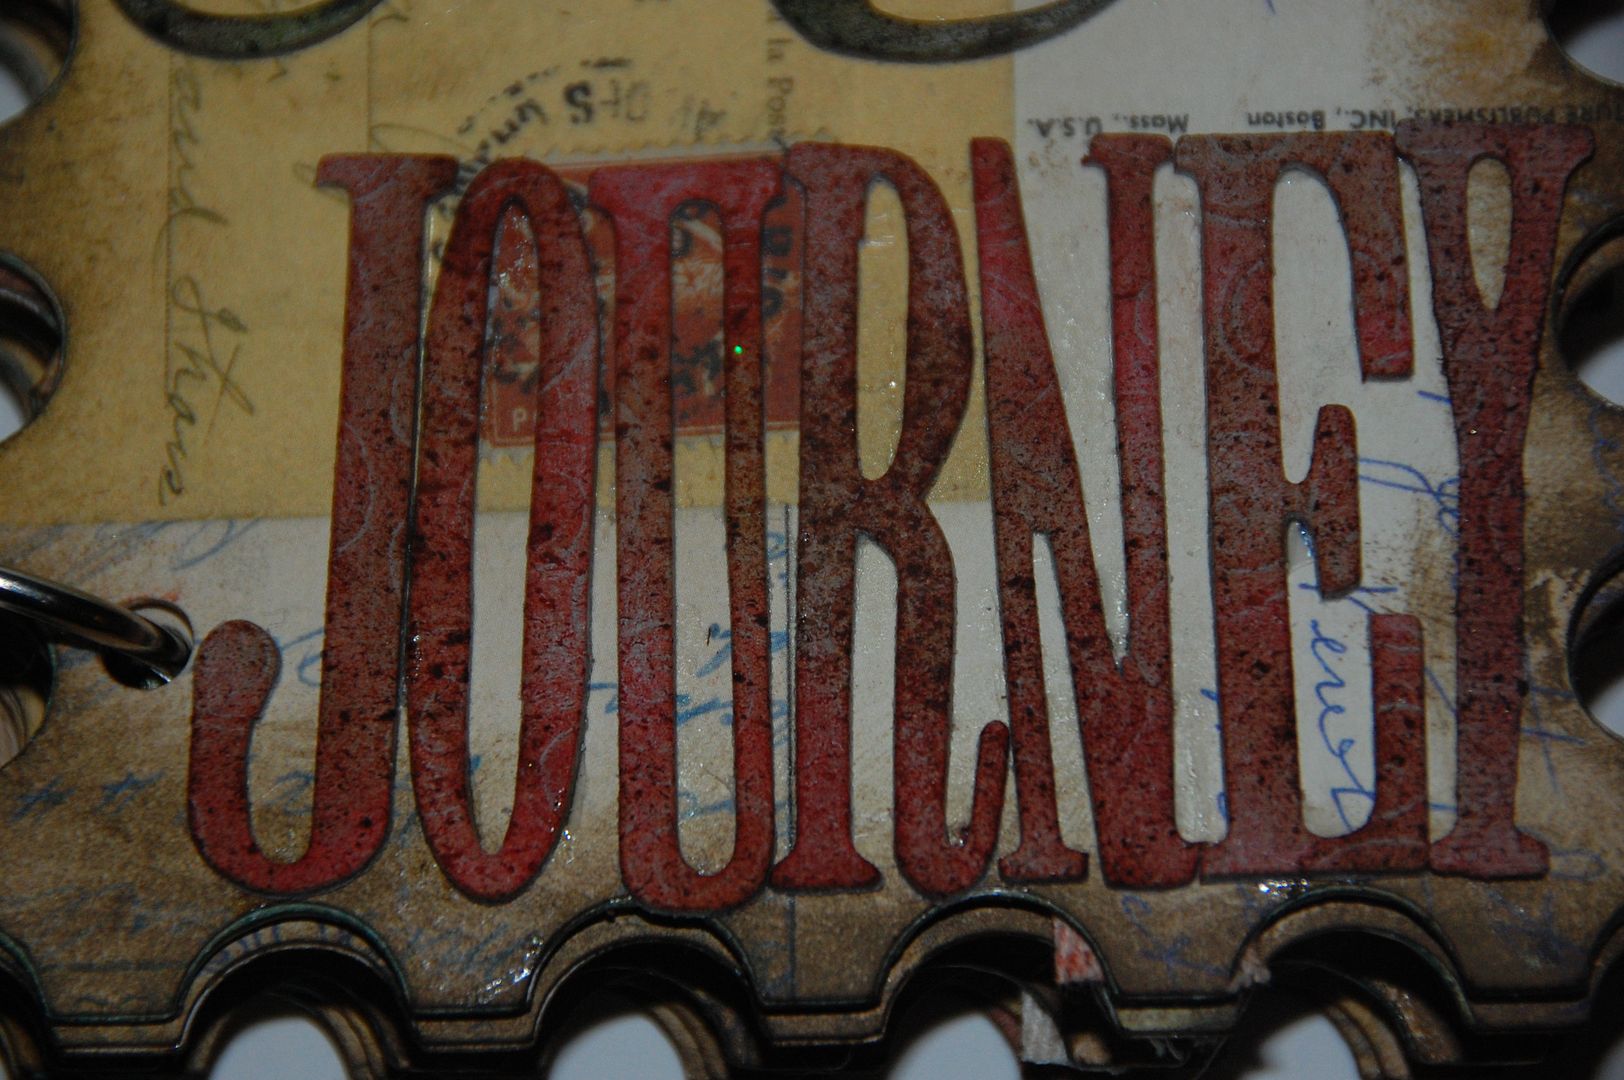
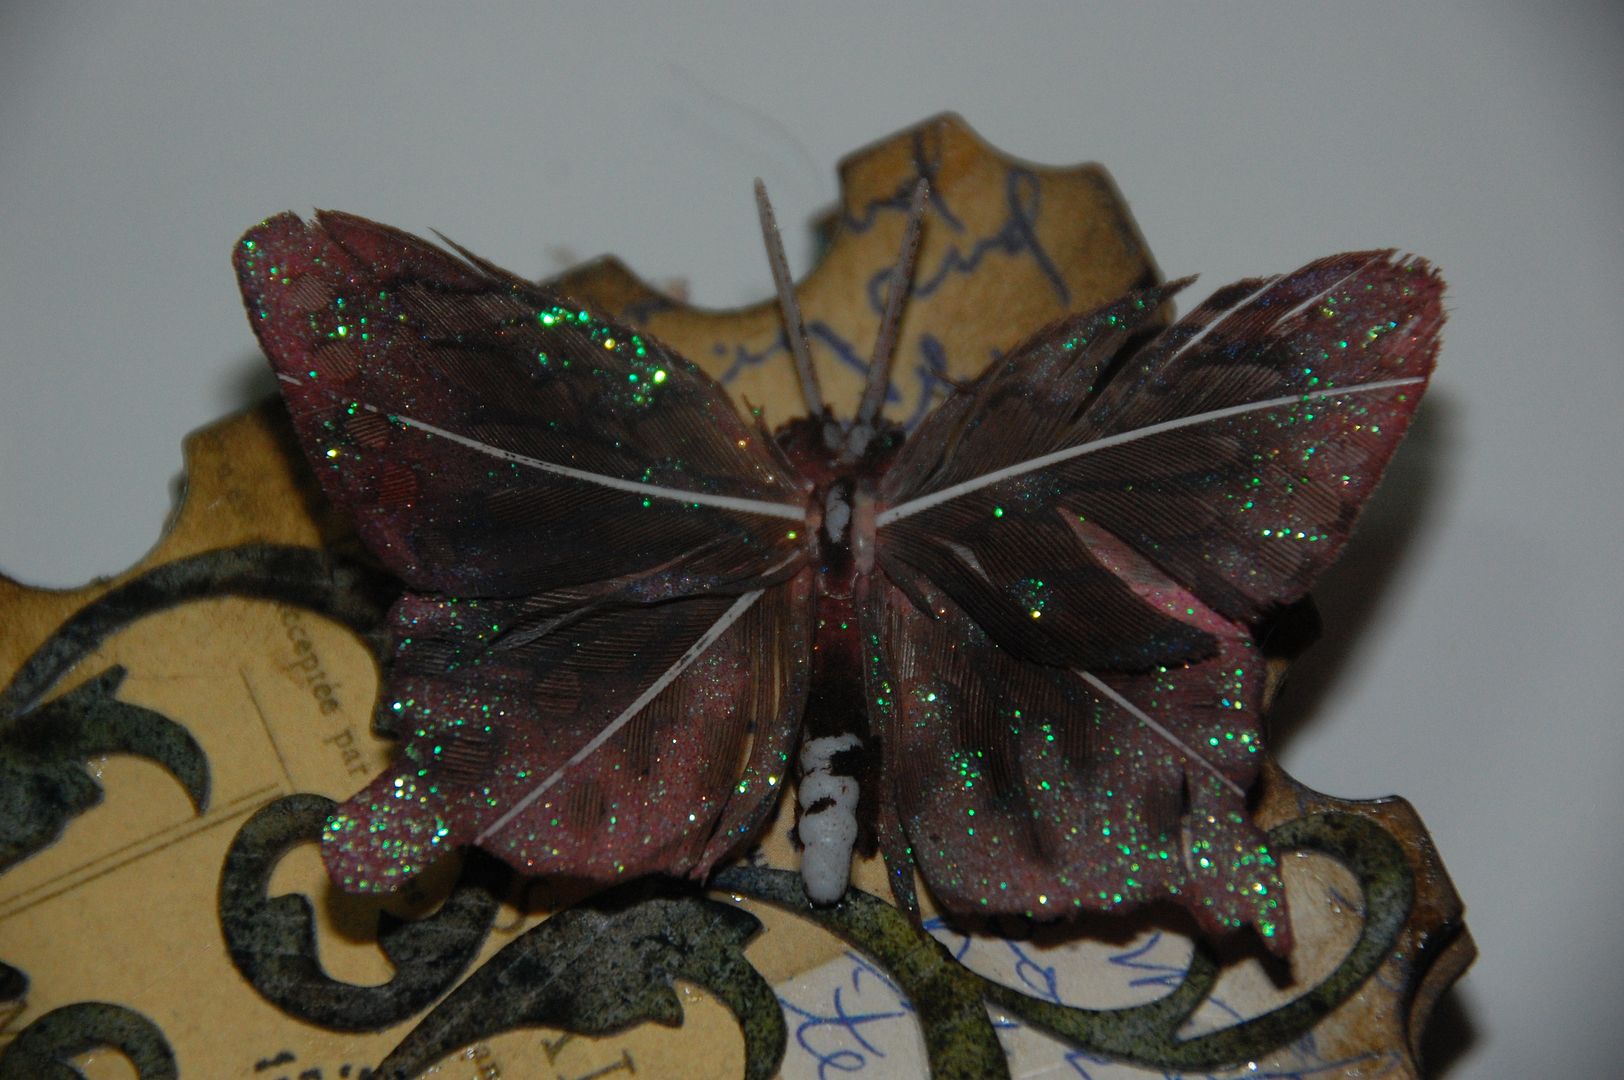
The word "Journey" is from Swirls Grungeboard. The letters were inked with Fired Brick and Frayed Burlap. The swirls on the front are Stripes Grungeboard. There inked with Chipped Sapphire and Peeled Paint. I then dabbed a little Vintage Photo on top. I love how the butterfly turned out! Isn't it awesome. I bought these little beauties in the wedding floral section at Michaels.
They come with wire backs (which I cut off). I then spent a serious amount of time Glimmer Misting with many colors such as Hot Chocolate, Pashmina, Sunflower, Forest Green, Wheatfields, and Gold. Once the Glimmer Mist was dried, I inked with a little Fired Brick and Vintage Photo.
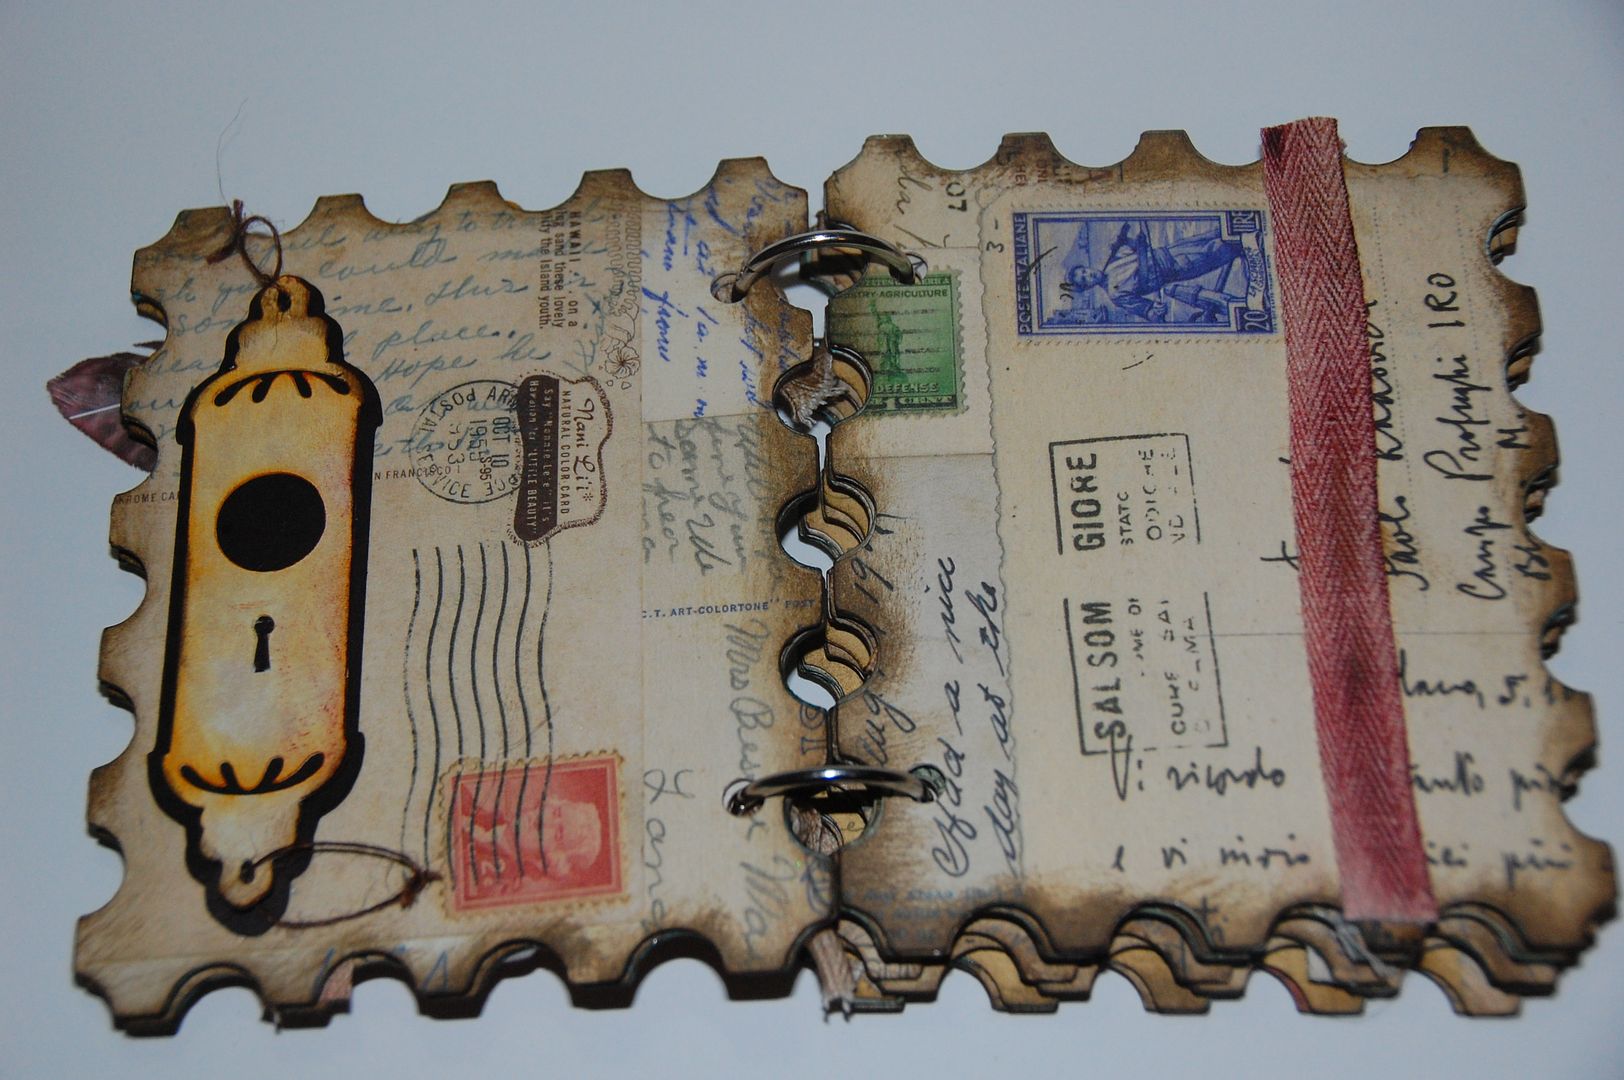
The lock, shadow, blackout, were all cut at (real dial size off) approx 4.25 inches. The front was inked with Wild Honey and Vintage Photo. If you like the style of this inking, please view THIS VIDEO
The twill ribbon was inked using Aged Mahogany.
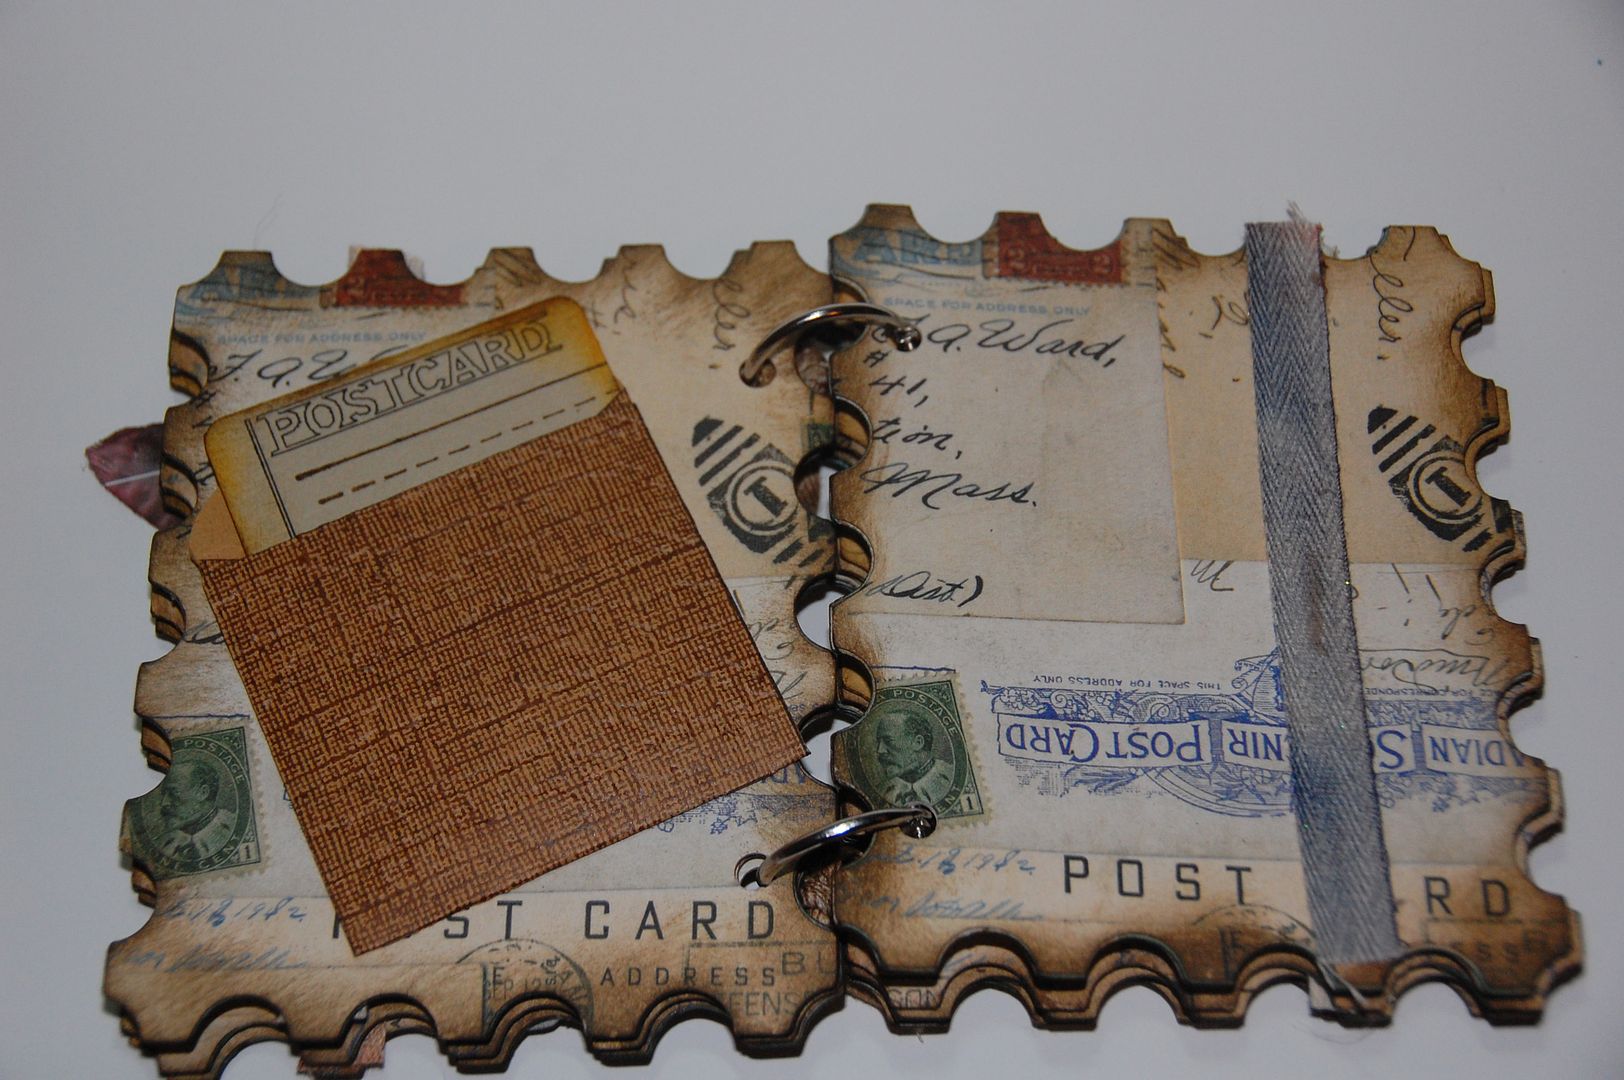
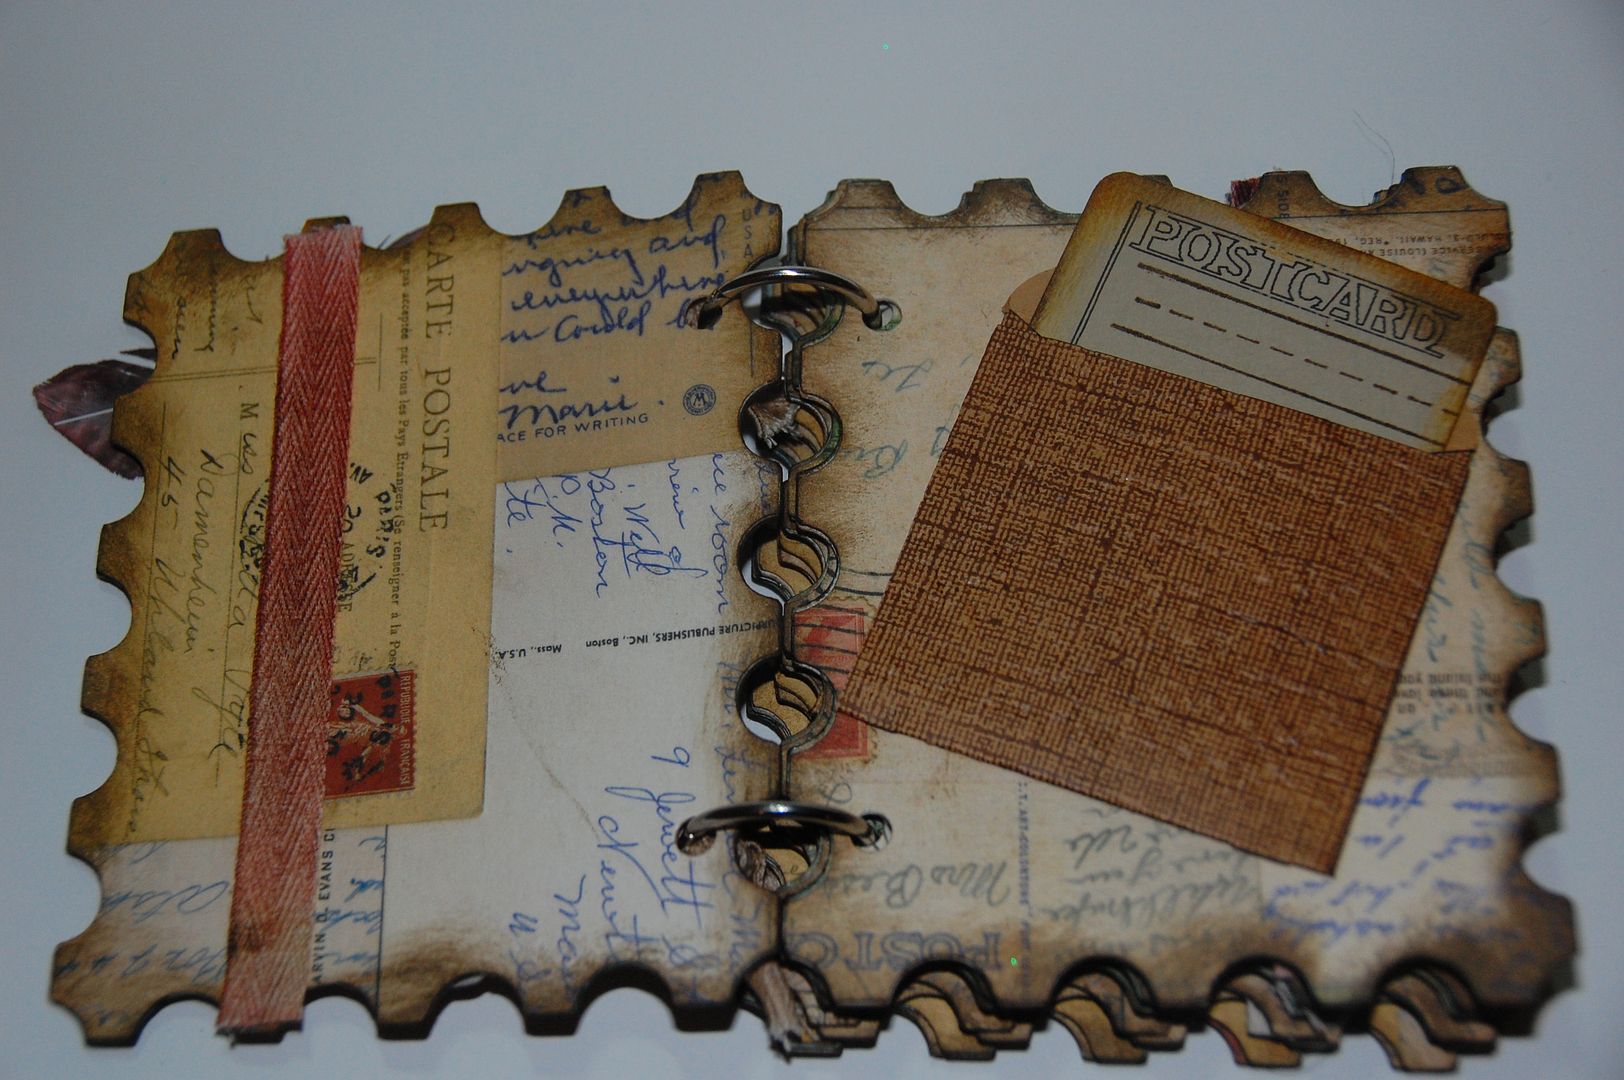
The envelopes are all cut at approx 2.75 inches from Core'Dinations cardstock. I embossed the fronts with Cuttlebug Folder Script. The envelope cuts with the scoremarks, so it is easy peasy to fold. They would be great for journaling note cards, memorabilia, or photos.
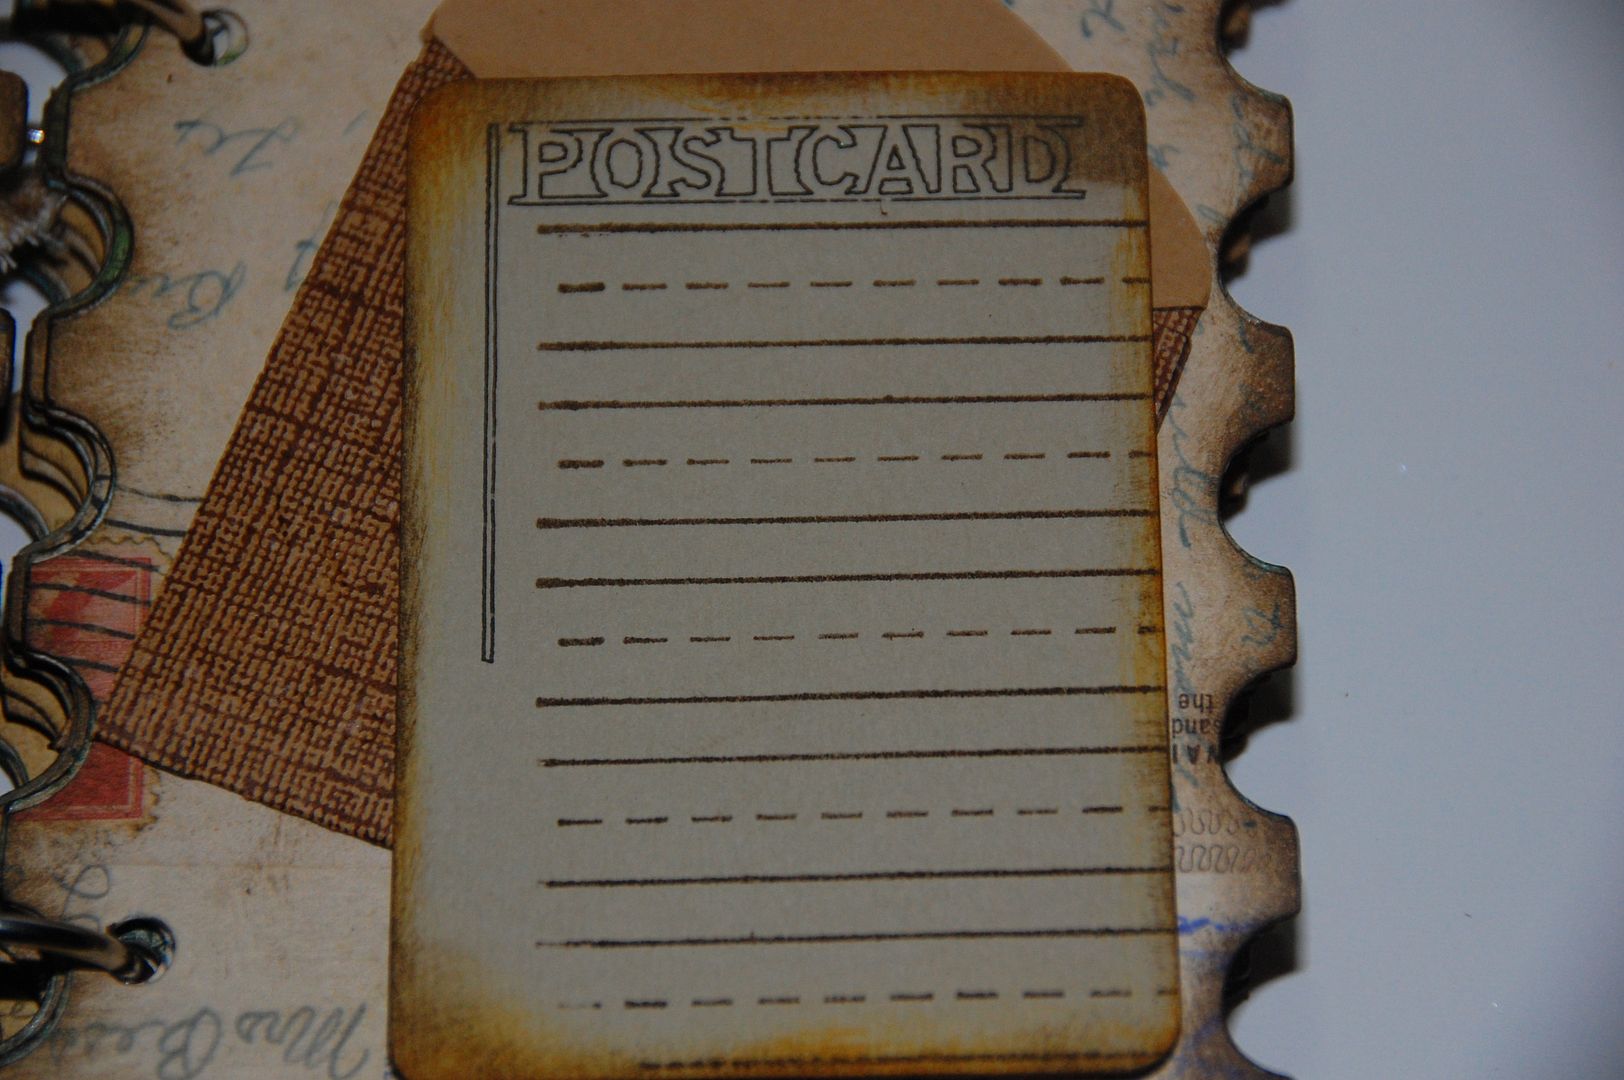
The postcard was cut at approx 2.75 inches.
The "Postcard" drawing was drawn at 3.0 inches using my new Cri-Kits pen holder and black gel pen. The lines are a stamp from Cornish Heritage Farms called Lined Paper. I am currently working on a Gypsy file that will "draw" the same thing using the Cri-Kits Gel Pens. I am so in love with his product. Essentially you can draw anything you can cut with your Cricut. On my personal blog, 217 Creations, I will have more tutorials on this product.
The edges of the postcard are inked with Wild Honey and Vintage Photo.
The twill ribbon (above) was inked using Chipped Sapphire.
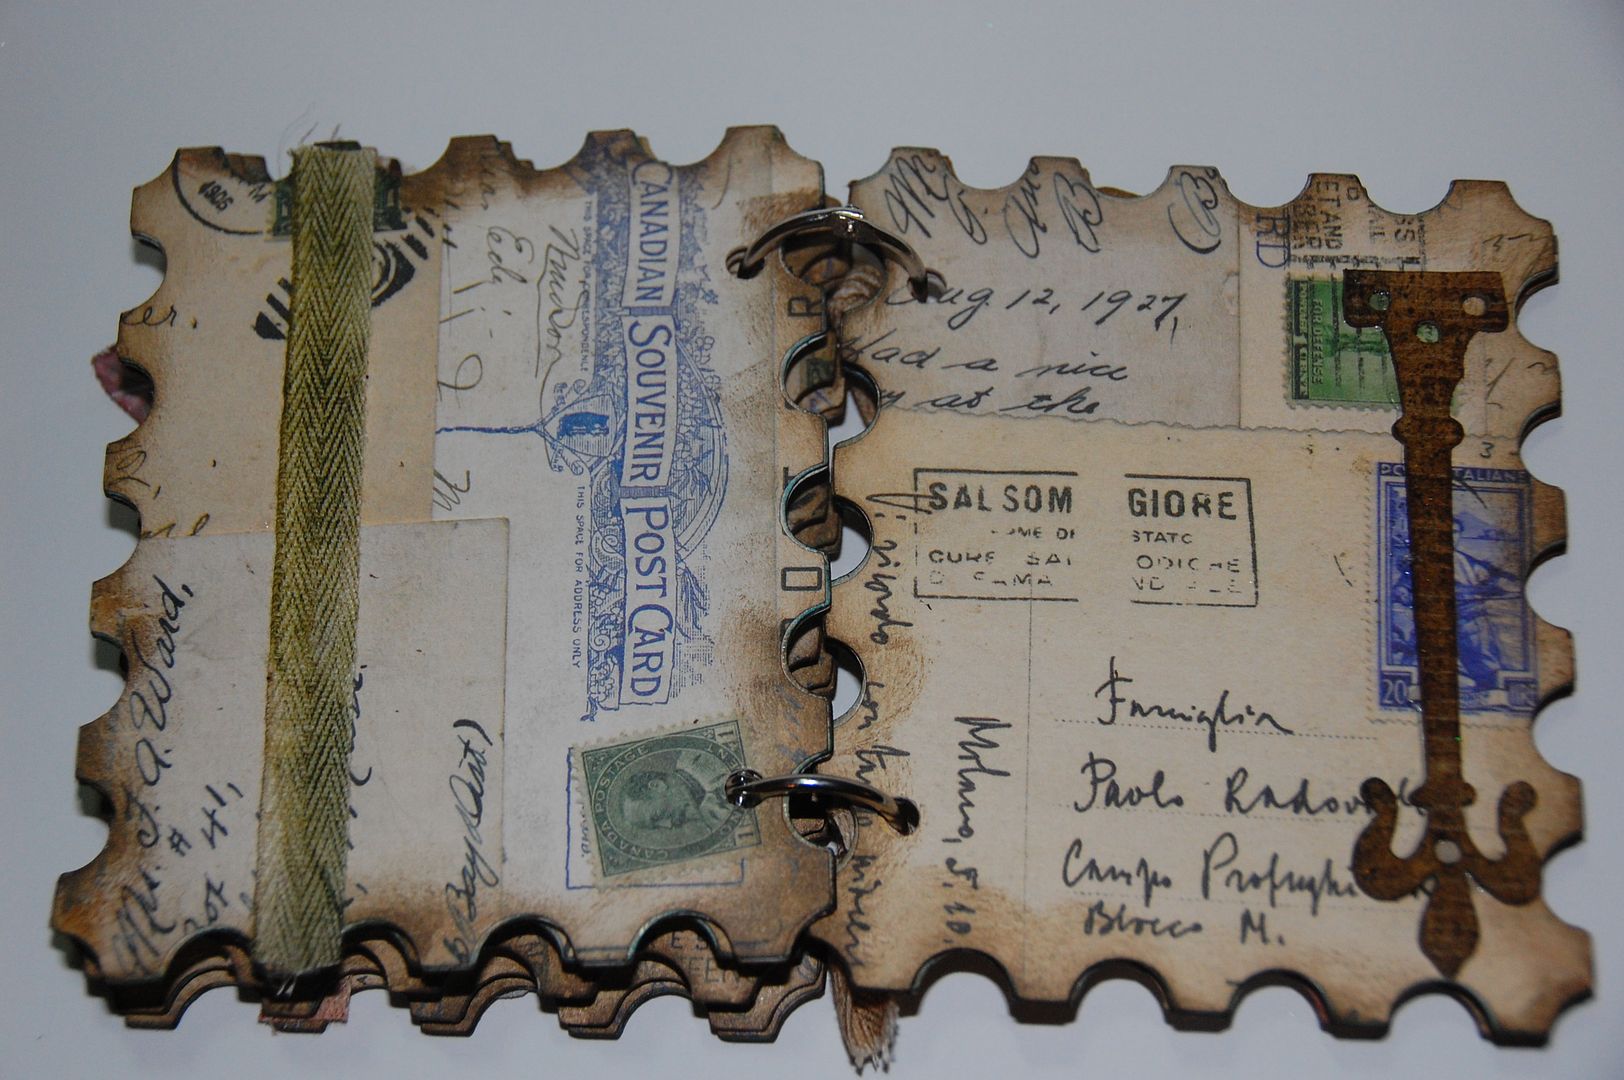
The twill ribbon on this page (above) was inked using Peeled Paint. The old bracket is actually Grungeboard that has been inked with Walnut Stain and Glimmer Misted with Tattered Leather.
All the embellishments were adhered using Zip Dry Glue.
This final ribbon was inked using Fired Brick.
I was originally planning on using my fabulous Cinch to bind this book, but the indentations from the stamp shape made it impossible. So I used my 7 Gypsies Binderie to create the 2 holes. I then looped book binder rings through the holes an tied off some twill ribbon inked with Frayed Burlap.
By the way . . .
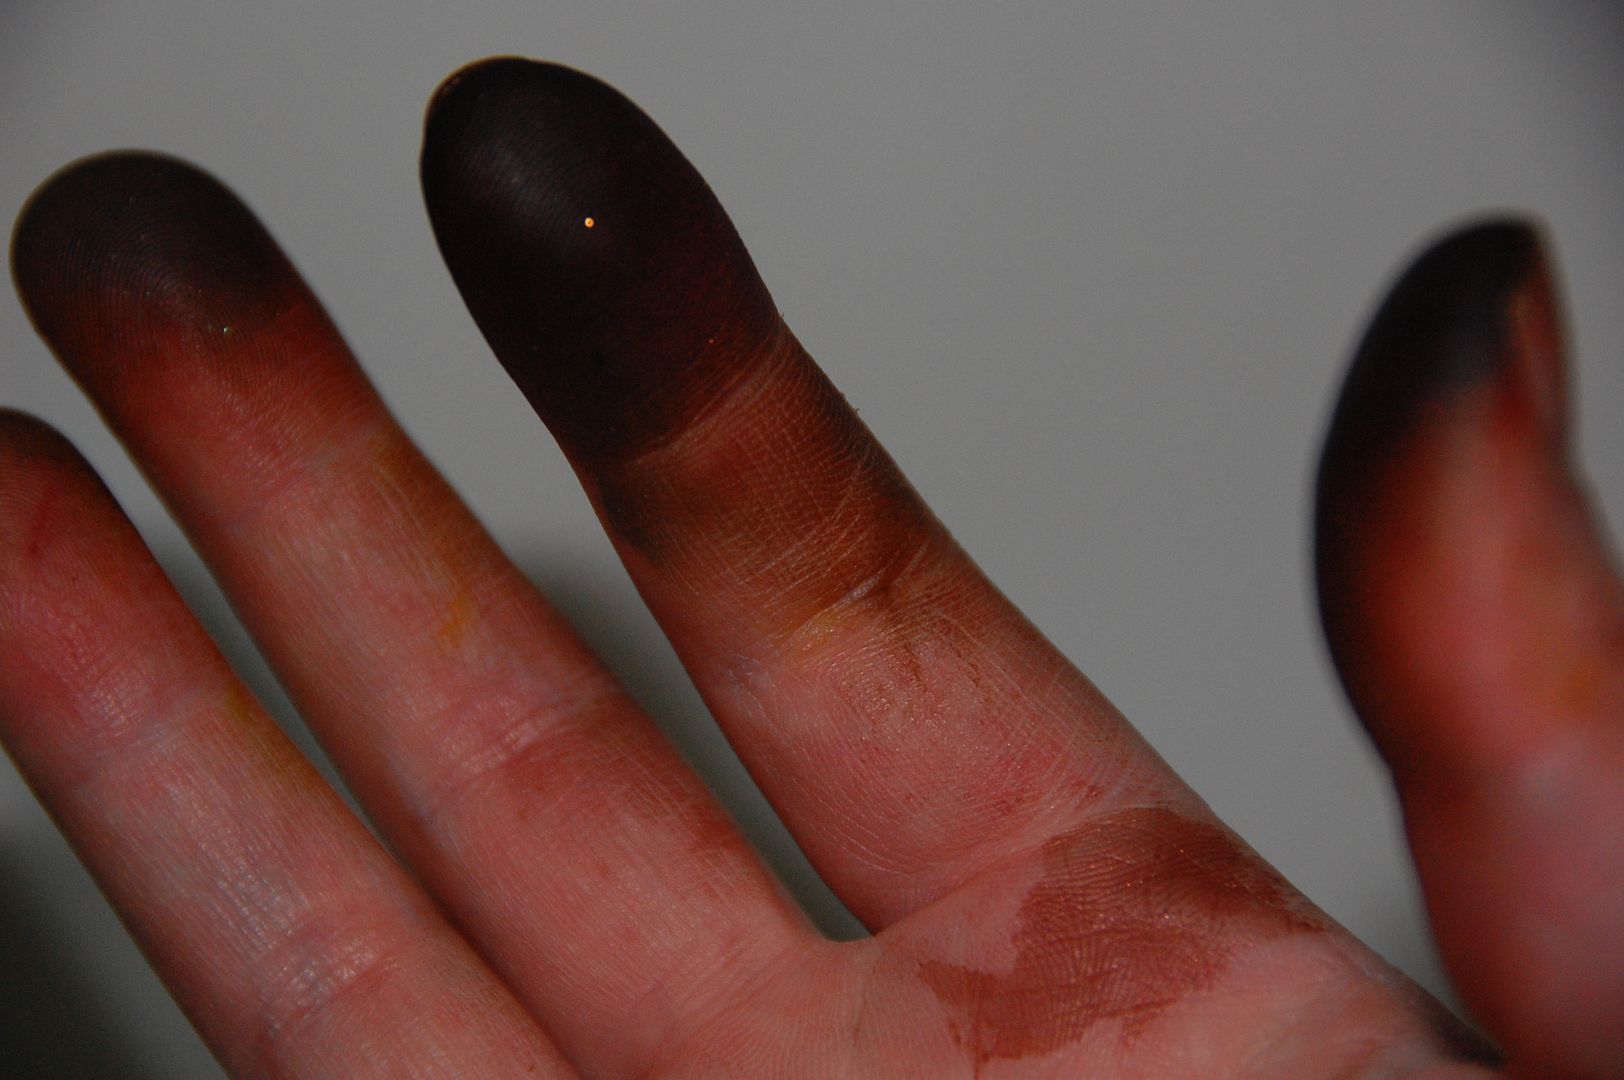
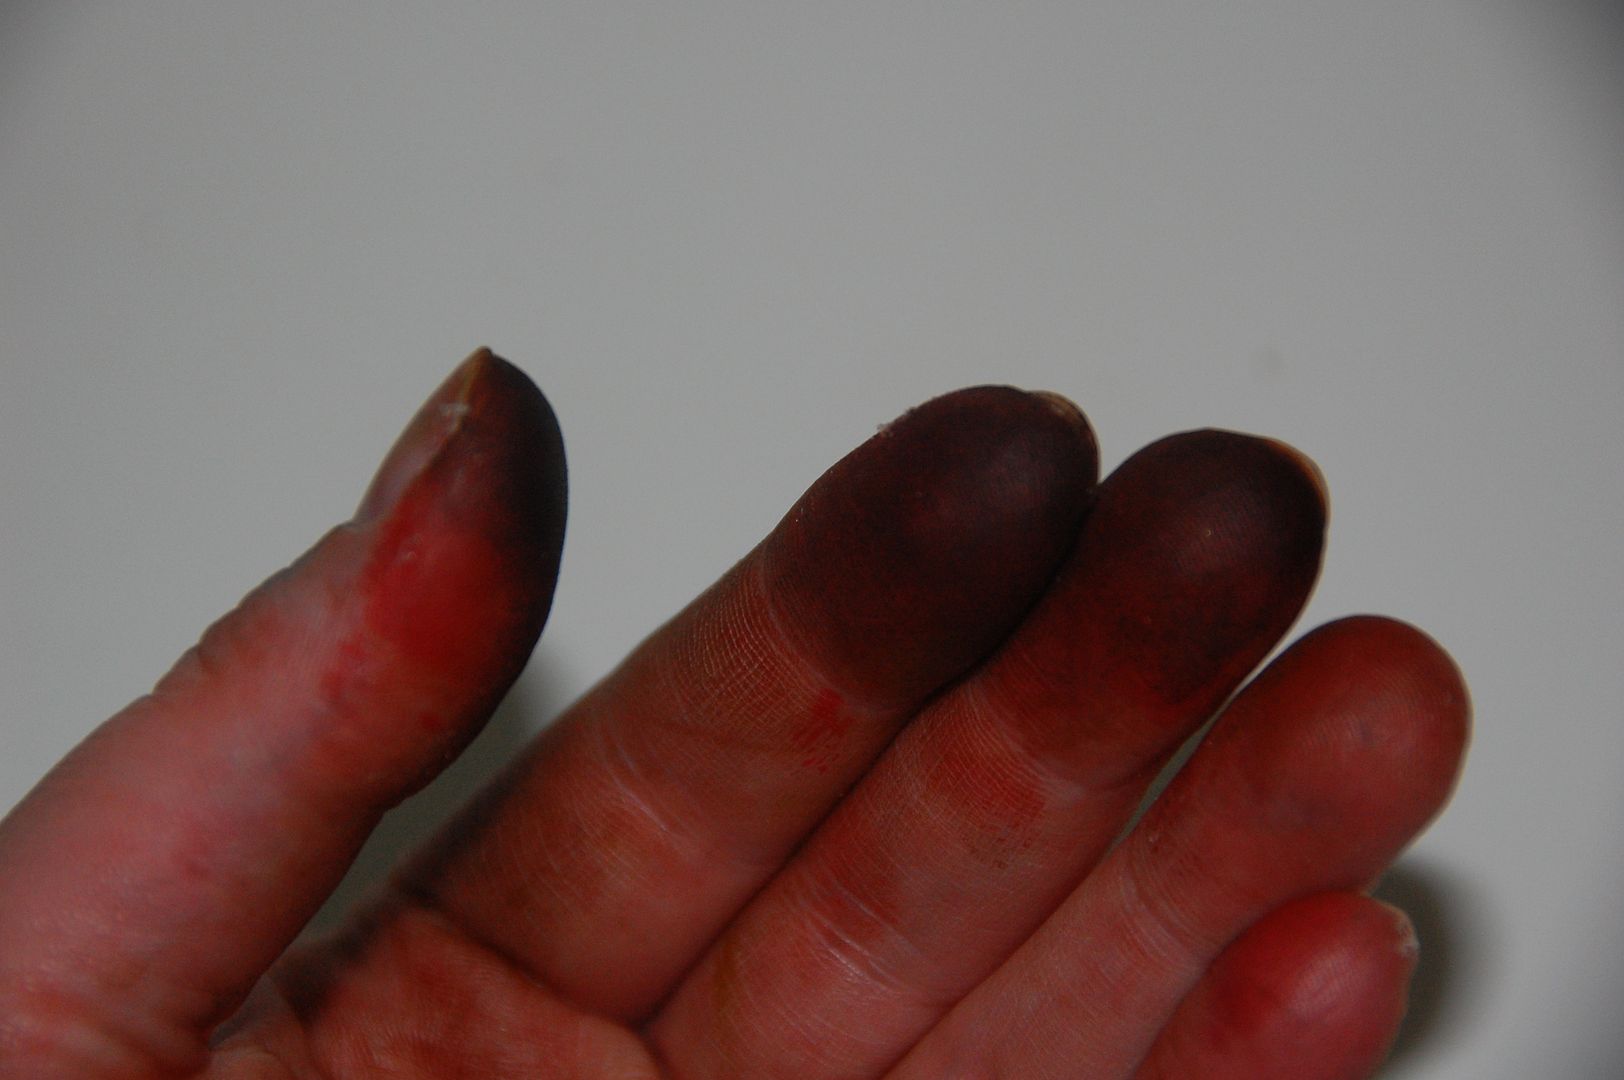
Here are my hands after this project!
If you would like a copy of the free Gypsy File, please visit my blog http://www.217Creations.blogspot.com
I love followers, comments and subscribers! Thanks Pam for having me over to play again!
I love followers, comments and subscribers! Thanks Pam for having me over to play again!



What a lovely project . Totally worth all that messy hand. Love it and sigh! the video with that great voice !!
ReplyDeleteThis is gorgeous Elizabeth!! The proof is on your fingertips ;))
ReplyDeleteGood Morning, this little mini turned out great!!! Love your inking and way this turned out!
ReplyDeleteI just LOVE this mini, I love all of the distress work you did. Can't wait to go home and watch the vid, you are so talented girl!!
ReplyDeleteHugs,
Mila
Great job Elizabeth! Don't you just love looking at your inky fingers when you get done? Sometimes you can find new colors on your hands that way. Lol
ReplyDeleteYou should be very proud, girl. It is an awesome mini. I love the way you combined everything and put it together. Awesome job! I also love the inky fingers.
ReplyDeleteYour album looks great and I love your new look. Orange is good.
ReplyDeleteBeautiful job on this mini - the paper, the ribbons, the inking, all so very nice. Thank you for sharing!
ReplyDeleteMarilyn
I went and watched your video first. Love this project.
ReplyDeleteVery nice mini..
ReplyDelete