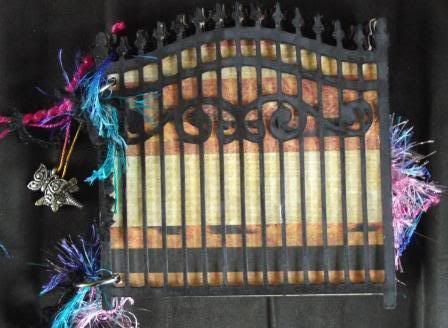
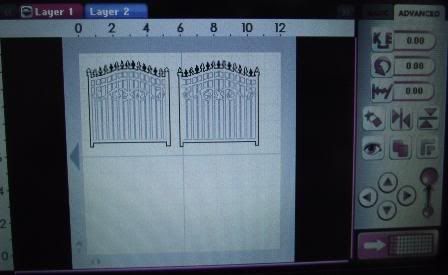
Hi all, Let me introduce myself , I'm Kelly from kamscraftyplace or Kam1 on the MB. I am very excited being a guest designer on Pam's blog. As you all know we are focusing on the Heritage cart this month. I have only had my cart a week, but thanks to the Gypsy I've been able to design my album without the cart. I just then linked it and cut. I used the hide contour to hide all of the bars. I didn't use the shadow feature as this would still be slightly bigger than the one I cut with all of the bars, which I didn't want to happen.
I used two layers on my file.
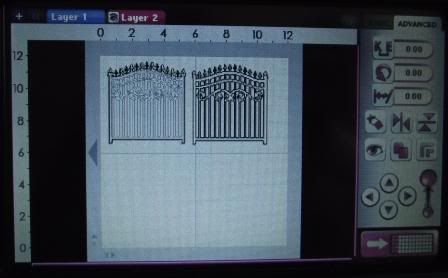
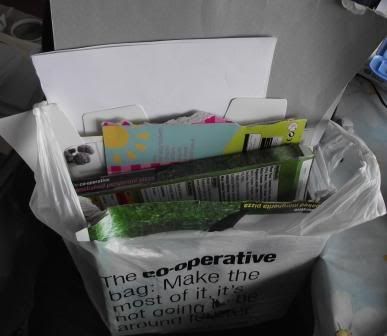
I used cereal boxes etc to cut my bases out. I use this rather than chipboard. It's thicker than card, but is easily cuttable. Here is my stash of what I call my 'chipboard
I have only put two of the gate on my design per layer because as you can see my board wasn't wide enough to do 4. The album is 5" by 5"

Here it is cut out. I used my blade on 6, pressure was high and I cut it 3/4 times without unloading it depending on the thickness of the board. I don't have the deep cut blade and find using the red one was fine.

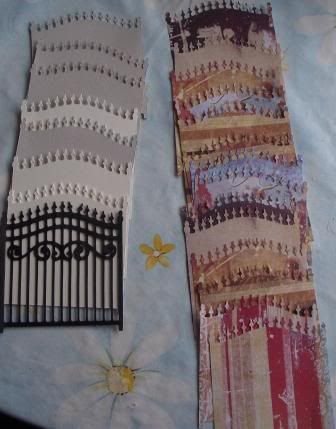
Here's all the board and paper cut out. I used Dovecraft Funky Vintage for the papers. To cut the paper I used blade 5, pressure medium and cut 1. I have found cutting paper with the Gypsy can be a little hit and miss so you may want to adjust the settings even more. I coloured the main gate in black with a permanent marker on both sides. It covered the shiney side of the board I used.
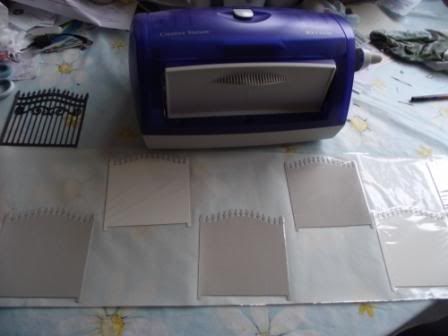
I used my Xyron creative station to put the adhesive on.
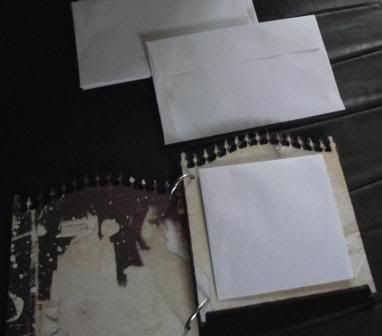
For the pockets I used some cheap envelopes. I sealed them and cut one end off. The length was 3 6/8" by just over 3 1/2". I covered the envelope with paper and stuck it to the page. I made the tags using some more of the board. These measured 4" by 3 3/8". I then covered the tags both sides with plain paper. I punched a hole in one end and threaded with fibres.

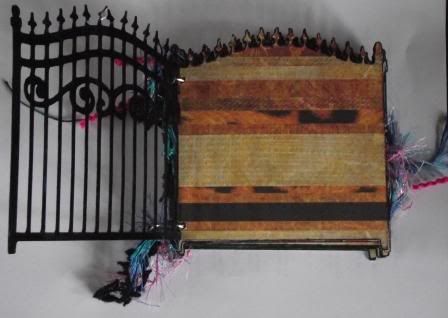
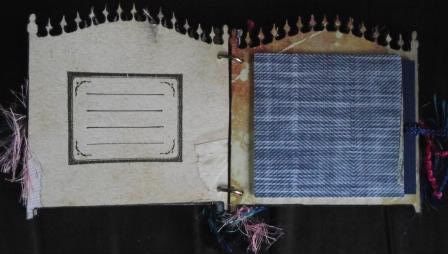
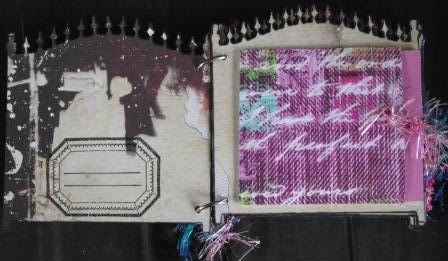
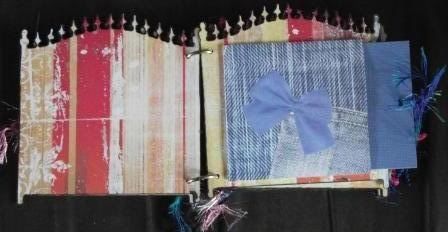
Kelly this is soooo cute. Love your use of the gates for a book, what a clever idea! Thank you for sharing with us today!
ReplyDeleteThis album is sooo pretty!! Love it!
ReplyDeleteKelly this is very clever! Love the tutorial! The album is awesome......I'm sure whoever recieves it will be thrilled beyond words!
ReplyDeleteI love that gate image!!!!! You did a fantastic job!!!!
ReplyDeleteWow!! This book is awesome! I love the gate, but I also love the papers you used!! I will be using the envelope trick too!
ReplyDeleteJust beautiful!!!!!!!
ReplyDeleteLove the look of your album, love those gates.
ReplyDeleteThe papers were perfect. Envelopes were a great idea.
I love it!!! Too cute and looks like lots of work, don't know if I'm brave enough to try it or not!
ReplyDeleteI love this album. Fantastic job!
ReplyDeleteI just love your album!
ReplyDeletelove the gate album, too cute., what a neat shape for the album..TFS!
ReplyDeleteamazing. i am truly honored that such great designer's like you all are consented to design in my blog.. Hugs
ReplyDeletePam
that is amazing!...
ReplyDelete